Friday, 9 September 2011

Coffee Morning/Evening Thing!

So,

Last weekend I had a coffee evening/morning with a raffle, lots of cake, coffee and tea as well as my Newton Rose things and Phoenix cards! I also managed (thanks to my very awesome cousin) to get coffee and tea donated from Starbucks - so thank you very much to them!!!

The money was for 'St David's Foundation Hospice Care' (who I have been volunteering with for the last year); They help LOADS of people here in South Wales so I really wanted to raise lots of money for them!

I am SO pleased to say that it was a success and we managed to raise £163.15 :)

Here are a couple of pictures:


Thank you to everyone who helped to make it a success!!

Sunday, 14 August 2011

Hoop Art!


Lately I've been experimenting with hoop art :)
Basically using an embroidery hoop as a frame....

I've seen the idea in quite a few places now and finally thought I'd give it a go (with varying degrees of success!)

While I was researching what was already out there (some of which is totally amazing) I came across a couple of people sewing messages onto a sort of 'notepad' type design - the idea is a fab one and although I won't be selling these (since the idea is clearly not mine) I couldn't resist making one for myself....

here is the result:


Not sure how many people will 'get the joke' - probably just a few - but lets just say that heteroskedasticity consumed my life for a while last year!


P.S. I have a coffee morning coming up soon where I will be selling some of my 'hoop art' - I'll be posting dates/times etc soon so check back :)

Thursday, 16 June 2011

Bunting!

A lovely lady gave me some almost finished bunting the other day... so I thought I'd finish it off :)

Not sure I'll be making more anytime soon but I think it looks awesome - perfect for a party decoration!

Here's the finished result:

Tuesday, 10 May 2011

Finished Quilts!

So... I've FINALLY finished my quilt, and what I didn't mention before, I actually made 2 quilts! One for me and one for my very awesome friend Sarah for her birthday :)

Here they are (mine is the one with the pink bias binding):


I made sure to take some photos of the 'work in progress' so I can give a more in-depth explanation of how I made them:

Once I had cut out all 280 8 inch squares I paired them all up and with right sides together I pinned along one side. I then used the sewing machine to sew along the pinned line.
A really good way to save a bit of time is to sew all the squares in a 'continuous strip' (pictured below) - this saves having to stop and start sewing for every single square!


Once I was done it looked a little like strange bunting...
I then cut up the 'strip' into the original pairs. Each pair of squares was then opened out and the seam ironed flat:


The pairs were then joined to make fours and the fours joined to make eights etc until the sides of the quilts were completed.
I cut out wadding to the size needed and pinned one of the patchworked sides onto it:


I then flipped it over and lined up and pinned the other side to the reverse of the wadding.
I then tacked through all three layers in order to keep the sides in the right place while quilting.

I decided to hand quilt the quilts and used quilters tape to mark out where I wanted to sew - it was REALLY helpful and I definitely recommend it if you want to quilt straight lines!


Once I had quilted, the last step was to add on the bias binding. For my quilt I used pre-made bias binding which my mum had left over from making curtains about 15 years ago! This definitely fit in with my idea of using up materials :) The bias binding is pinned and then sewn along one side of the quilt. The excess fabric is then cut away so that when folded over the bias binding sits straight! I then hand-stitched it down...


Once the tacking was removed I had finished!!
I also added on a cross-stitch 'label' to both quilts - here's mine:


I hope you all like them :)

Saturday, 7 May 2011

Pan Grabber!

As yet another 'practice quilting thing' I decided to make a couple of pan grabbers....

We use one in our household to open/close the wood burning stove and our old one has completely fallen apart - so I came top the rescue :)

I patchworked and hand quilted them, like I'm doing with my quilt, but mostly they were a good way to practice using bias binding (especially those corners!).

Here are the two sides of one of them:


and an action shot taking chips from the oven (sorry about the quality):

Saturday, 23 April 2011

Birthday presents and CAKE!

Quite recently it was my very good friend's birthday!
I love to handmake all gifts I give to people but the hard bit is generally not the making of the gift but thinking of what to make in the first place!

No two gifts should be the same...... well... not exactly the same :P

Anyway - so for my friend I decided to delve into the cushion side of life and managed to come up with some new ideas :)

I then got my brother to take some good 'in focus' pictures (since he always says my photos are rubbish... which they probably are...):


I also made her a very awesome cake (I got the idea from the martha stewart website!):

Monday, 11 April 2011

Cushion covers and a new walking foot!

I thought I'd take a small break from quilt making (before I begin the insane task of trying to decide what goes on each side) and make some cushion covers!

I saw them as a way to practice patchworking a bit and also to try out my new walking foot :) A walking foot (for those who don't know) is a clever little sewing machine foot which works with the usual feeding things on your machine to feed the material through from the top as well as the bottom! VERY useful as it means that your material layers stay lined up and you don't end up with a funny little bump of excess fabric...

Anyway - so here are my cushion covers:


I'm really pleased with how they turned out!

Now it's time to get on with my quilt...

Monday, 21 March 2011

My first quilt - making big squares from little squares!

Making this quilt is turning out to be quite addictive...
Once I cut out the 96 'little' squares I couldn't help but make them straight into 'big' squares!

First I lay them out onto the table to pick which groups of 4 would go together - I really wanted to make sure that no two same squares would be the same:


And then I sewed them together :) It was actually REALLY quick to do!
First I pinned the squares together in pairs and sewed all of the pairs in one MASSIVE continuous strip. I then ironed out the seams and pinned each of the pairs with another pair, then sewed THEM in one continuous strip!
After some major ironing I lay all of my squares out on the floor - I'm really pleased with how they have turned out:


(I'll make sure to take a few more 'work in progress' photos when I sew the big squares together! My explanation might make more sense that way :P)

Saturday, 19 March 2011

My first quilt - in progress!

For the past few days I've been busy cutting out squares for my very first quilt!

I'm making a 'scrap quilt' - basically trying to use up all of my random small pieces of fabric (of which I have a LOT) and trying to not think too much about a colour scheme or pattern or anything...

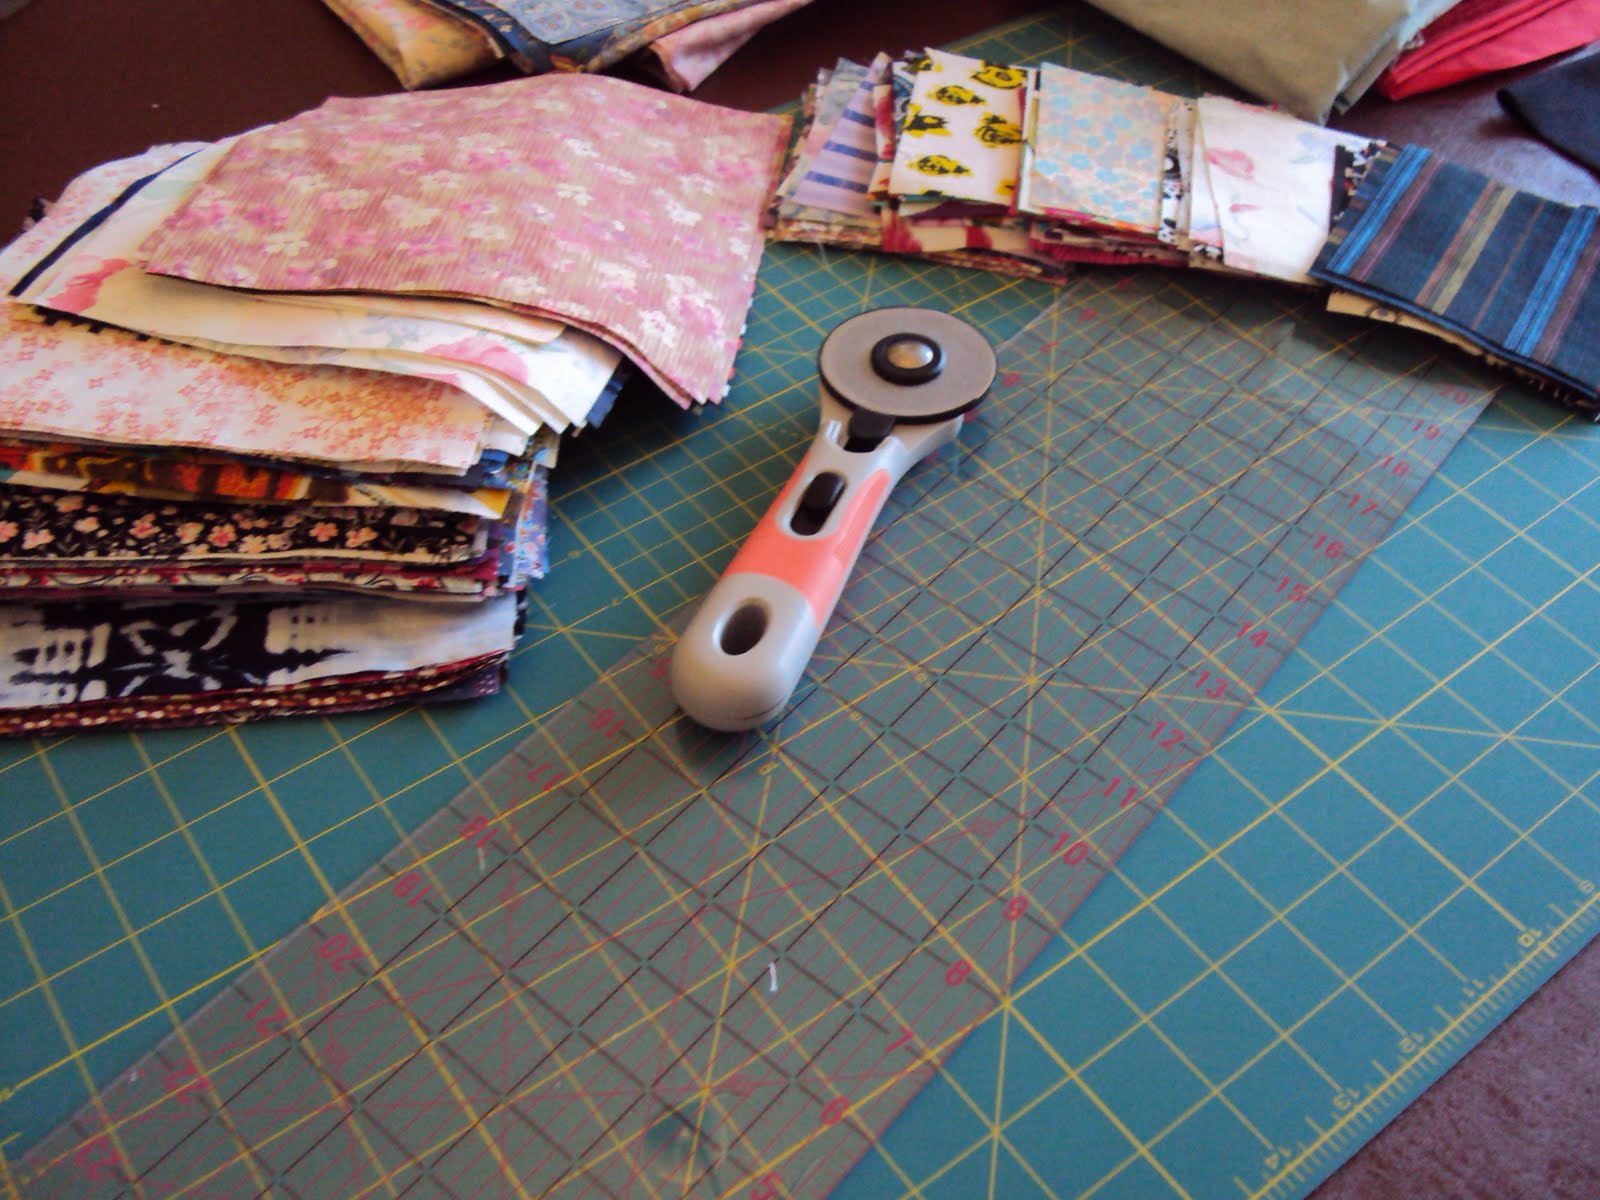
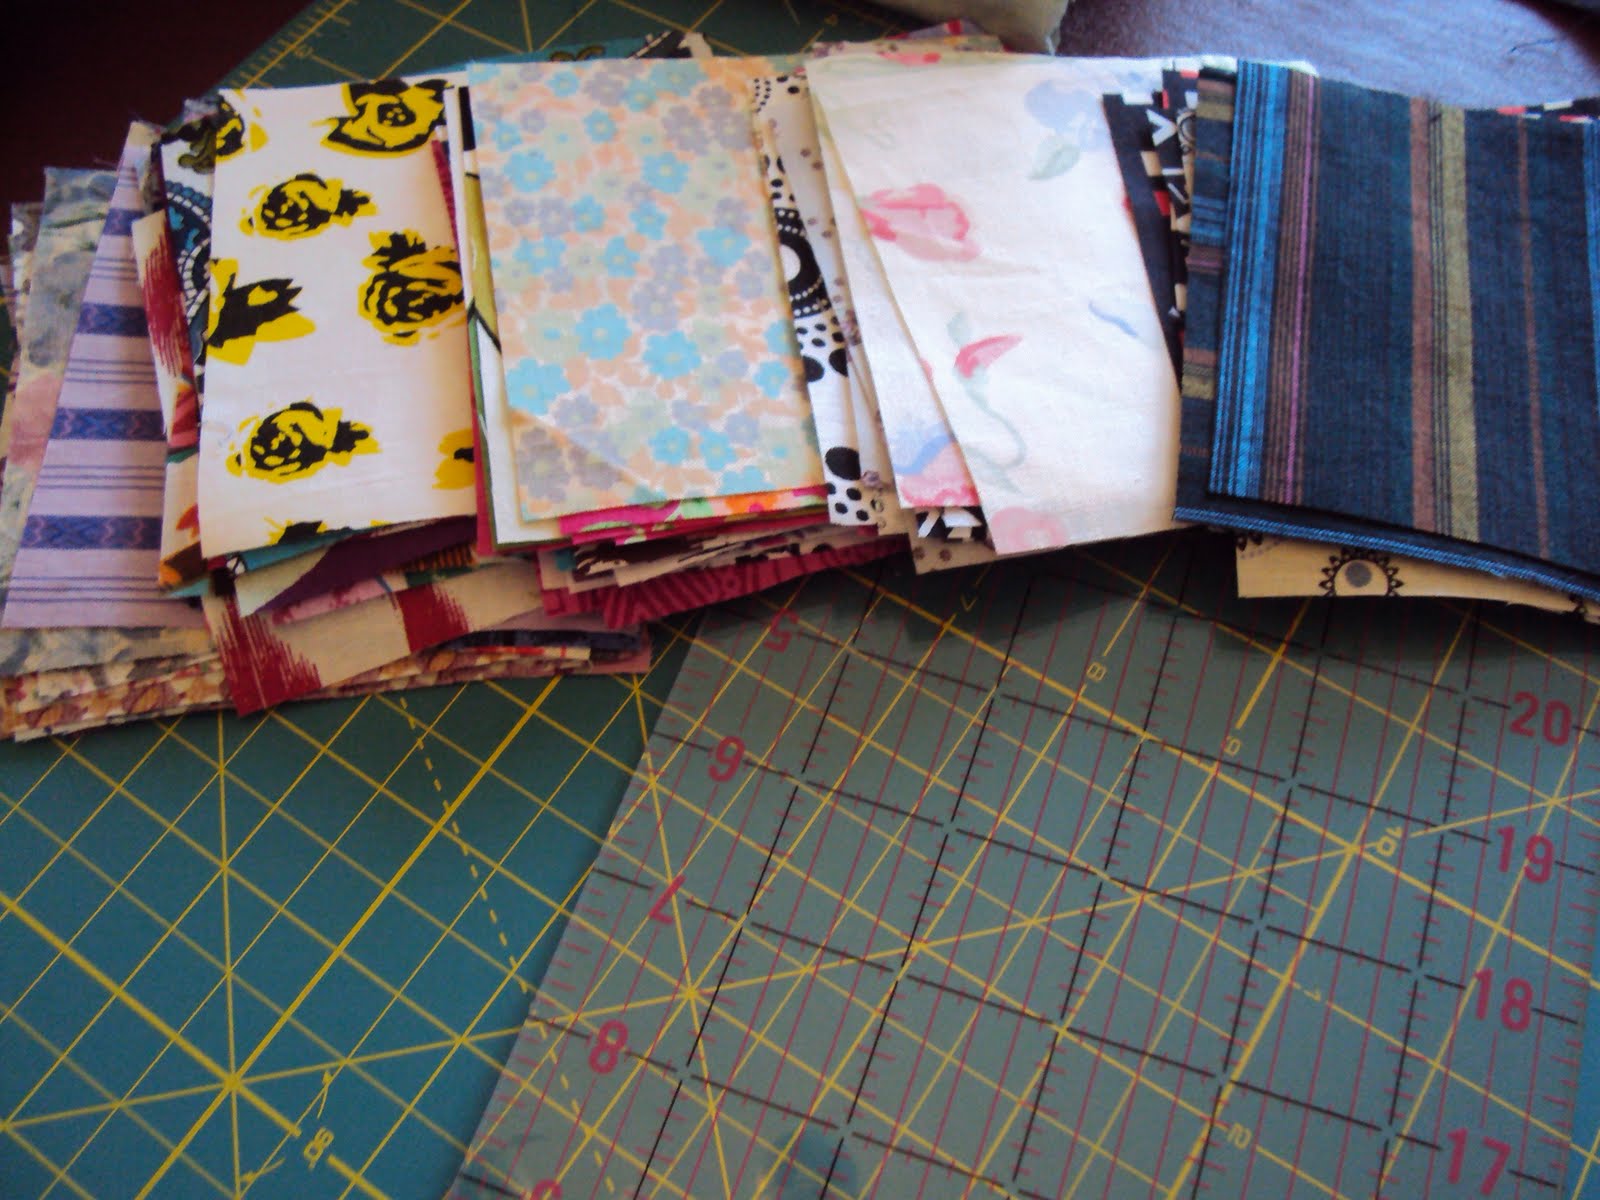
Thanks to my Mum I have a VERY useful rotary cutter, cutting mat a quilting ruler thing (one of my very lovely christmas presents...) which is definitely time-saving! and so far I have 157 'big' squares and 96 'little' squares:


I've cut out 96 'little' squares to make up 24 'big' squares and to use up more of my really little pieces of fabric:


I still have some more cutting to do and I have to make my 'little' squares into 'big' sqaures but I'm getting there slowly!

I shall keep you updated on my progress :)

Sunday, 20 February 2011

St David's Day Daffodils!

I know it's still 9 days until St David's day but I got this idea in my head and just couldn't get it out! I simply had to make these badges:


e-mail me if you want one!!
(newton.rose.mail@gmail.com)

Followers